Sunday, January 29, 2012

Turtleneck Makeover


I was at Target the other day and saw a whole bunch of turtlenecks on clearance in the girls section, but didn't really WANT to get my daughter any turtlenecks.  But for $1.78 a piece, I had an aha moment in the store and picked up a few.  This purple zebra one caught my eye in particular because lately J's favorite color is purple and I no one ever really gets her crazy prints like that so I thought she's be excited.  Then I also saw the purple velour skirt on clearance for $1.50 and the purple polk-a-dot pants for $1.00.  The next day I surprised her with the outfit and she couldn't believe it...it was so something she would put together (as you can tell, totally a 4 year old dressing herself style) And as I showed her the purple zebra turtleneck her eyes got huge and she was gasping when I proceeded to tell her, "I think we should cut the neck part off" and she gasped even louder and said "I WAS JUST GOING TO SAY THAT!!!" ..really???  well, either way wouldn't surprise me, she is always wanting me to alter things for her!

So anyways, here is how to have a little fun with a cheap turtleneck


 stretch out the neck part a bit to make it into a comfy headband.

 This is her favorite outfit right now, she is treasuring it and I'm cracking up a bit because the whole outfit was under $5 and is all mismatched clearance items but she is so happy that I know her "fashion sense" and surprised her with this. :P  She has so many cute and beautiful school and church clothes, it's nice for her to just have some random play clothes.


Saturday, January 28, 2012

Scrappy Saturdays 17

Scrappy Saturdays 17

Hey!  I seriously can't believe it's that time of week again!!!  This week just slipped away completely with very little accomplished!  Do you ever have weeks like that?  I haven't had much time for creating lately so I really am enjoying seeing what everyone else is doing!

I'm having fun looking at all the linkups from last week, there weren't very many compared to weeks past...probably because I got the link up going late here are a couple of them...

Check out this super cute and handy Jar Pin Cushion from Dear Creatives

And the Magnetic Me activity from Creative Juice looks sooo fun I really want to do that!


If you've been featured, you can grab a brag button here

Now link up your awesome projects using scraps (of any kind), upcycling, redo/makeovers, and anything you made including materials you found or had on hand.  We love thrifty, resourceful creativity!

if you like this linky/blog you can follow me on GFC, Facebook, Twitter, Pinterest or vote for me on Top Mommy Blogs...:)
Visit some of the other links and leave some comment love :)
No Giveaways
grab a button below and post it with your other linky lists


Friday, January 27, 2012

House Peeking

So I've been pretty slow to do a lot of decorating and whatnot with the new house.  We moved in May from and apartment so it's been kinda bare.  I guess it took a while for me to get comfortable and not feel worried about if the previous owners would approve...(they had done a nice job and the house was in such great condition).  Anyways, here are some of the things I've gotten around to putting up etc...it's not much but it's coming along.

ENTRYWAY

 had the table since my college dorm, mirror was a wedding gift, got the wire bowl 50 cents at church "yard" sale, balls from hobby lobby, frames from home goods, topiary from west elm (clearance for $10) and the candlesticks I just got on clearance at TJ Maxx for $5 each...
 J is wearing the pillowcase dress and headband I  made in this pic

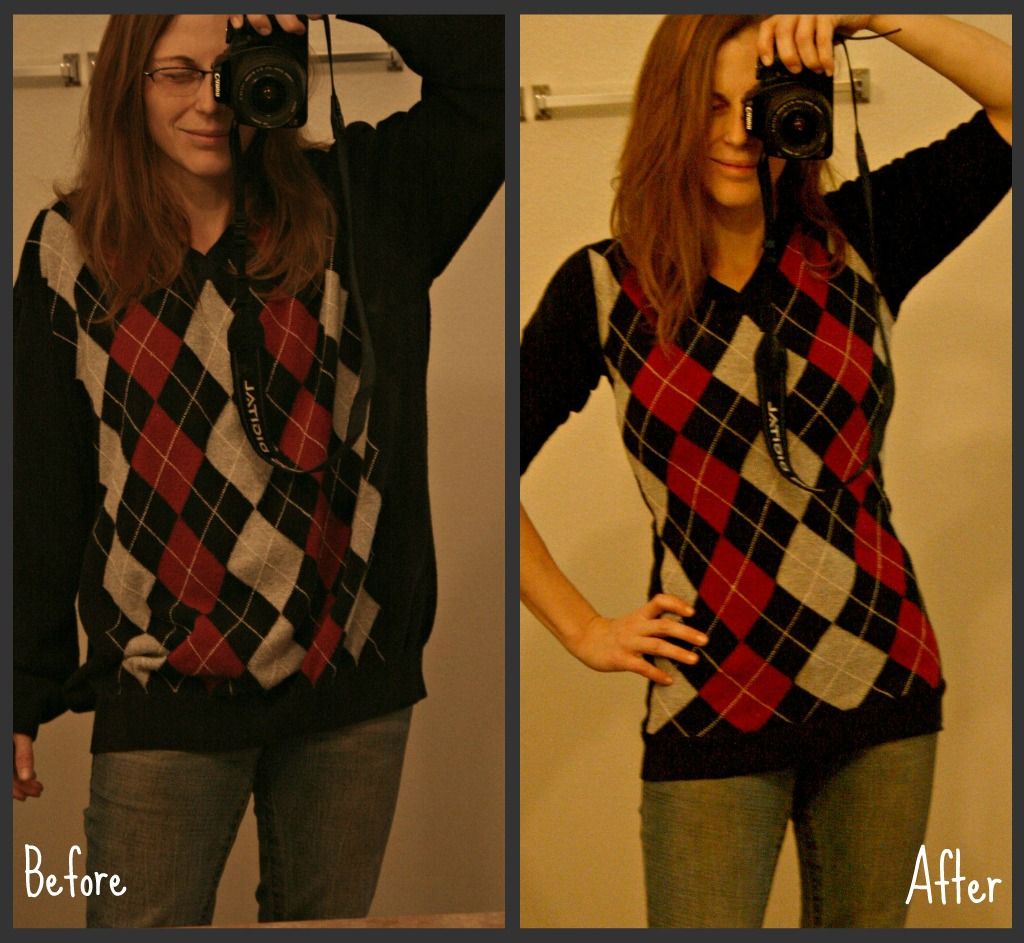
 B is wearing the first necktie I made

Just picked up the metal decor 50% off at Hobby Lobby for the entryway

Here is how it all looks from inside 

The cross is what you see when walking down the stairs, I told J that it will help her remember everyday when she comes down in the morning that Jesus loves her.

BEDROOM

Bedroom still has lots of room for improvement as we have no real bedroom set, our bed is just on rails and we have an old hand me down dresser.  I picked up a sitting chair from the thrift store when we moved here for hardly anything and it's in perfect condition. I want to paint and recover it but just haven't decided what I how I want to do it yet.  There are only 2  things we have done in here...Put in a different ceiling fan because we didn't like the gold and white fan that looked dated (this one isn't anything fancy but we like it better, it was only $50-i think it may end up in my sons room eventually and get something else but it's an improvement for now)


here is how the room looks (normally i make the bed)...eventually this will be part of a before and after post I'm sure! I DO love my windows though!


but my FAVORITE addition....one of my favorite things in the whole house is this lith from Carlton T Chapman 1888.  When my in-laws came out to visit and brought us some things from their house, they also brought us this piece of artwork and I LOVE IT! I love how my mother-in-law had it framed and matted as well with linen.  I love to look over at it when I wake up. Thanks Mom and Dad C!


Hubby went around and painted all the outlet covers so they blend in better.  The previous owners left all the paint from different rooms and had it all labeled in the basement which is nice.

BASEMENT
putting up memorabilia and what not


 There is a large drawing I did in college, a framed album insert from Frank Sinatra's greatest hits, a framed menu from Modern Apizza (in New Haven, CT) a bw pic of my hubby's first car and some sports memorabilia.  I made the JETS banner for my hubby using felt and framed it in those cheap frames from Walmart that are like $3. We just got some more menu's and more memorabilia from my husbands last trip to CT that I'll be adding to the wall.

More memorabilia, a campaign sign from when my father-in-law ran for political office, various album art, etc.

Where I work out (a super awesome craigslist find!)

Where hubby works out (another great craigslist find...less than a one year membership at an average gym would cost)

Just put up this $2 clock from Target to look at through the glass door so I will actually know how long I've been sitting in HERE...

Yes, I love this!  

It would be nice to just do everything we wanted to do and decorate everything all at once, but we are thrifty and frugal and so we just wait till we find a good deal on what we need or are looking for.  I do have some serious empty wall space around the house though that I'm going to have to do something about sooner than later!!!  But I've just been so happy enjoying our new home and having more space than the 2 bedroom apartment we were in, with the baby waking up 20+ times a night bc he was stuck in our room with us!  But I AM glad we decided hold off on buying a house and go the cheap apartment route as long as we did because it was worth the wait :)


Thursday, January 26, 2012

Indoor Snowman Fun

Since any snow we get keeps melting (not complaining!) we decided not to wait any longer to make some snowmen!  My daughter saw this in the recent issue of Family Fun magazine using toilet paper, but I didn't feel like dealing with a tp mess so we just wrapped dad up in a bed sheet and she decorated him to be a snowman!  (he's such a good sport! and she could not stop giggling!). (that thing in their mouth is supposed to be the pipe....made with a pip cleaner)


Sunday, January 22, 2012

Scrappy Saturdays 16

Man these weekends keep sneaking up on me and I am super excited to see what you all link up this week!  Some highlights from last week include...


Alrighty, if you've been featured, you can grab a brag button here

if you like this linky/blog you can follow me on GFC, Facebook, Twitter, Pinterest or vote for me on Top Mommy Blogs...:)
Visit some of the other links and leave some comment love :)
No Giveaways
grab a button below and post it with your other linky lists


Link up your awesome projects using scraps (of any kind), upcycling, redo/makeovers, and anything you made including materials you found or had on hand.  We love thrifty, resourceful creativity!


Tuesday, January 17, 2012

3-D paperbag snowflakes

3-D Paper Bag Snowflakes
Since there's been very little snow this winter might as well make some

I originally shared this tutorial as a guest post over at Dear Creatives and have been meaning to share it again in case you missed it! (click here to see the original post over at DC)


Spend a cold winter day with your kids making these beautiful 3-D snowflakes that are super easy.   These snowflakes have a very dramatic effect, especially if you make a collection and hang them together. My friend and I got the idea when we were at Whole Foods and they had big snowflakes like this made from various kinds of paper bags hanging from the ceiling in the front of the store.  You could use any kind of paper bags you have on hand, we used white lunch paper bags.  This is a great craft you can do with the little ones too, which is what we did. 

What You’ll Need
  • 10 paper lunch bags (for 1 snowflake)
  • scissors, edge punch, etc
  • stapler
  • ribbon or string
  • hole punch

Cut the top edges of all the paper bags to make pretty snowflake edges.
Take two bags and line them up.  Open the tops and staple one side of the bag to one side of the other bag.
Repeat until you have five bags stapled together. Staple the five bags together at the bottom and then open it up creating a fan…half your snowflake.
Take the other five bags and repeat, attaching them all together and making another fan shape.
Take the two half snowflakes (fan shapes) and staple them together through the openings at the top of the bag.  Staple the tops of the bags together, but also the bottom edges as you can see in the picture above.
Use your hole punch and make punch a hole for stringing a ribbon or yarn through so you can hang your 3-D paper bag snowflake.
Adjust all the bags so all the creases are straight.
After putting it together I decided to go around all the edges with the hole punch to add more detail.
We had 4 year olds cut the edges of the snow flakes, but you could make more dramatic or designed edges changing the look of this paper bag snowflake, so it has more shape and is less of a giant circle when looking straight on.  These also look great when made with brown paper bags.  You could even get more creative and spray the finished snowflake with spray adhesive and sprinkled with glitter to give it some bling, glue on some jewels or sequins…or just enjoy as is.  My daughter wanted me to hang hers above her bed, she loves it.

Thanks for looking and I hope you enjoy making some of these fun 3-D paper bag snowflakes. 


Sunday, January 15, 2012

Scrappy Saturdays 15

Sorry for the late start! I was having trouble logging into inlinkz and finally figured out the problem.  I thought it wasn't working, but apparently I just kept using the wrong password....derrr!!!

So here we go, thanks all for your participation, I always look forward to seeing what you have done each week!  Here are some from last week...


Alrighty, if you've been featured, you can grab a brag button here

if you like this linky/blog you can follow me on GFC, Facebook, Twitter, Pinterest or vote for me on Top Mommy Blogs...:)
Visit some of the other links and leave some comment love :)
No Giveaways
grab a button below and post it with your other linky lists


Link up your awesome projects using scraps (of any kind), upcycling, redo/makeovers, and anything you made including materials you found or had on hand.  We love thrifty, resourceful creativity!