Showing posts with label sewing. Show all posts

Thursday, January 11, 2018

DIY Knee Patches

DIY KNEE PATCHES


If you have boys like mine, it only takes about a month for a new pair of jeans to have holy knees.  Today I decided to take the time to start patching them up so they can still wear them.  No point in buying new ones...they look like this so soon anyways.

 If you are a non-professional sewer like me, this a fun way to patch up those jeans and add some personality to them.

Set up Thread...choose a matching or contrasting color for fun.

(wow didn't notice that big fuzzie thing on my thread til I uploaded this pic! lol)


Set on a zig zag stitch (this is as fancy as this machine gets) and not too tight of a stitch length.  You can always test out your stitch on a scrap piece of fabric to get the right size zig zag you would like.


Remove the extra storage compartment to give you a smaller sewing arm because you're going to need to be able to get those little pant legs scrunched up on there and there is not a lot of room to work with. Mine were 3T...The legs were almost too narrow to slide up onto this smaller sewing arm but I had JUST enough room to work with.


Start with one of the holes.


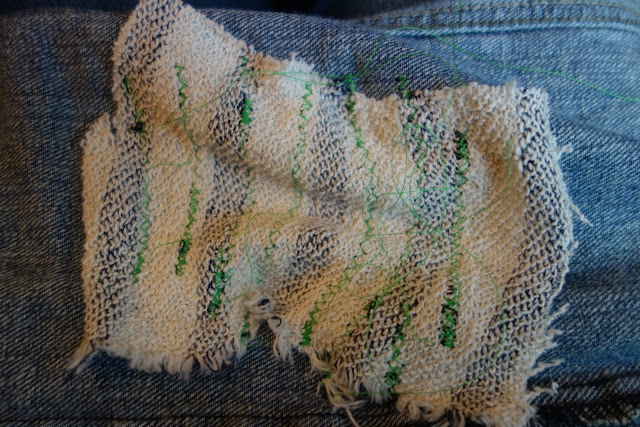
Cut a scrap of fabric that is larger than the hole.  My scraps came from a knit throw blanket I made last year.  I love me a good scrap buster! (Used to host a Scappy Link Party on here years ago for creative scrap buster projects).


Place the patch fabric inside the pant leg and line up with the hole, making sure there is overlap of both materials all the way around.


Pin the fabric in place so it doesn't move and leave you with another hole.


Trim the long threads of the ripped jeans so they don't get caught on your presser foot as you sew...(I forgot to do this on my first patch.)

Slide paint leg up onto sewing arm through the waist of paints.  Careful to make sure everything stays in place and then right above the beginning of the hole, make your first zig zag stitch which will run horizontally across the pant leg.  Make sure to back stitch every time you start and end.  

I did not take the pants off the sewing machine to trim the bottom thread after every stitch.  After completing a row and back-stitching, I would lift the presser foot and turn the need up if it ended in a down position, and pull the pants off slightly to lengthen the thread coming through the needle, trim the thread close to pants leaving a tail (a couple inches long), then slide pants back up to the next area to sew, always pulling the tail thread straight back away from you.  


Work your way down the patch, starting your stitch on the denim part, back stitching to secure the stitch, then sewing across the patch and back stitching when you get to the end. 

You can see my back stitching where the thread appears to be darker/more bold. (if you are newer to your sewing machine and didn't know, back stitch is where you use the reverse button or lever on your machine to sew backwards over the seam you just made...I go back and forth a couple times.  All sewing machines are different so consult your manual if you are unsure of what which button or lever you need to use for back stitching.) 


Keep working your way in rows to secure your patch as you work your way down the pant leg. 

See how scrunched up the jeans are on my machine?  I did have to wrestle it (a little) as I got closer to the bottom of the hole where the jeans narrow.  If your jeans are bigger thank 3T this will be much easier. 


Finish sewing the zig zag rows across the patch. End with a final seam across the bottom of the hole on the denim securing the bottom of the patch fabric to the jeans.


Turn Jeans inside out and trim the threads on the back of the patch and trim away any excess fabric.


Repeat on other pant hole.  Little boys pants have been given a life extension!  You can have fun with the fabric choice, adding some personality to the pants with your patch.  This really was super easy and doesn't require much sewing skill.  As long as you can do basic operations on your machine.  This doesn't have to be perfect (unless you want it to be), just have fun with it, I mean the pants were pretty toast anyways anything is an improvement.


And after patching these pants I realized they are almost too small on him anyways...oh well...but all his hand-me-down jeans from his brother have holes so I will be doing more of this.

Wednesday, April 26, 2017

Reversible Flirty Apron


I have been wanting to make the flirty apron by the dating divas for a long time but have not been inspired enough to take the time to sew one until now with my small group, a sweet bunch of women who enjoy celebrating each other!  With one of the birthdays this week being for a gal in our group who is particularly mind blowing creative and is always baking and hosting, this apron tutorial popped in my mind!  She is always doing special, amazing, creative thoughtful thing for others.  I followed the apron tutorial pretty closely the only change I made was that I made it reversible with coordinating fabric on the reverse side and used the fabric from each side as the pocket fabric on the opposite side and I changed the pocket shape on one side for variety and added some Rick rack instead of the pocket ruffle.  This friend has dark hair and looks great in jewel tones and I think green and dark blue look great on her so I scoured Joanne's and had a couple other options picked out that were okay and once I had settled on some other fabric, I got lucky and after thinking I had seen everything, found these fabrics on my way to the cutting counter which I had missed! So glad my 3 year old distracted me or I wouldn't have seen them.  

Here is the original tutorial by the dating divas. http://www.thedatingdivas.com/flirty-apron-tutorial/

Here are some pictures of the apron process as I followed the instructions and added the reversible detail.

Pre washed and dried fabric

Pattern cut out with contractor paper I have.  My friend is taller so I added an inch in length to the dimensions given in the tutorial.

Fold fabric in half and line up pattern on fold and cut out two coordinating aprons.

A little note that my newly turned 7 year old dropped by after I let him have some of the fabric scraps to tie around his head like a ninja.

All the pieces cut out according the the dating divas tutorial with the addition of an extra apron and pocket.  I decided to switch it up and not do a ruffle on the pockets. One side is the rectangle pocket and the other side I cute it to be rounded and added the Rick rack detail along the top.  Also my fabric for the bottom ruffle was not long enough, so I cut out two strips and then sewed them together to get the needed length.  

Sewing the front pocket, I cut it out with the top on the fold of the fabric, then turned it right sides facing together and sewed around the open edges leaving a small section open on the lower right side so I could turn right side out,

Then it looked like this. I ironed it out and folded in the open edges to match the seam and ironed it flat 


The. I ironed the Rick rack o. And wrapped around the edges, and pressed with the iron. This is temporary and doesn't hold it but it held it in place enough to sew it on.


Then did the same process with the rectangle pocket for the reverse side of apron.  Cut on folded fabric and top of pocket is the folded edge and then sewed around raw adages and left an opening to turn right side out.

To get the pocket placed right I folded the apron in half to find the center then lined up the pocket with the center and pinned it in place on only the top layer of fabric, then unfolded and pinned the other side down flat and top stitched around the sides and bottom of pockets.

Both pockets are now sewn onto the aprons.

Next, follow the instructions on the original tutorial by making the bottom ruffle.  Sew the neck strap and waist ties inside out leaving ends open and then turn right side out.
Carefully pin everything in place. The bottom ruffle will need a good amount of pins to keep the ruffle edge and apron edge lined up. This is all pretty much just following the if aging diva instructions so far.

But then...take your reversible apron and lay it face down on top of everything thou just pinned.  Carefully line up the edges especially along the bottom ruffle and pin everything good so it all stays in place.

Sew all the way around your apron leaving an opening on the side, make sure the opening isn't where any straps or Ruffles are attached.  You can see my opening below, it's below the waist strap and above the bottom ruffle.  Make sure to back stitch the when you start and finish and I also back stitched over the neck straps and waist ties to make it strong.

Carefully flip the whole apron right side out through that opening.

Now let's close the opening. Fold in the open edges to match the seam and press with iron.


Sew that opening shut but top stitching over the ironed seam you just did.  I did a small zig zag stitch and decided to keep going all the way around the apron for a little added detail.


And there it is side A

and side B

Such a fun sewing project!  I haven't been motivated to sew for a long time but this project got me excited to get it all out and make something.  The dating Divas did a great job with the tutorial.  I remember once buying an easy apron pattern and it was labeled quick n easy.  It took me like 8 hours because the patty was so confusing!  I would much rather use an on,one tutorial than a store bought pattern anytime possible.  And now you can take that great apron tutorial and make it reversible! Double the fun!


Here's a second reversible cute flirty apron


Monday, September 24, 2012

Homeschool, so far...

Hello!  Yes I haven't quit my blog although it may have appeared that way. Our hard drive crashed on our laptop and I have a hard time blogging on the ipad or iphone, but sometimes my hubby leaves his work laptop at home so here's an update of what we have been up to the past month.  We started homeschooling my 5 year old girl and it has been so much fun, we are really enjoying it and I don't know what I was so nervous/worried about when trying to make the final decision to do it.  Most of all, she is so happy and loves it too.  Anyways, I still have a lot to learn but right now I really like Charlotte Mason and Montessori style of learning...haven't bought a curriculum but am kind of making one as we go. I do read all the posts from Free Your Kids on Facebook but I just don't know if I could let go and trust the whole "unschooling" method although it is interesting to read what people say about it. One website that has been really useful is 1+1+1=1.  I picked up a laminator and we are doing the You Can Read printables to learn and practice site words and she has a lot of fun with it.  We also printed out the Angry Birds theme pack that helps introduce money, fractions, greater than/less than, and other math skills.  And I've also made a tot book and some other montesorri printabes for my 2 year old and put it in his mickey mouse binder so he gets all "I want MY school work!" and has fun with it too.  I also made her some easy reader books after I saw the BOB books but thought she would be more interested if it was personal to her.  I made one about the zoo and drew simple pictures and then I made 2 other books and had her draw the illustrations.  I also read to her a lot, we have read a few of the Ramona books by Beverly Cleary, we love them! and at the moment are halfway through the Secret Garden.  I usually have her sketch in her notebook while I read, it helps her sit still and she seems to retain more and usually ends up drawing scenes that I'm reading and trying to write names of characters.  Before I had her draw, she would be listening, but also constantly moving around, looking at herself in the mirror and interrupting...the drawing though made a huge difference.

I also picked up all sorts of kindergarten-1 workbooks at an educational supply store we happened to stuble upon in St. Louis (our first week of homeschool was a road trip from Omaha to Alpharetta, GA.  We stopped in St. Louis both ways and spent a weekend in Nashville on the way down.)

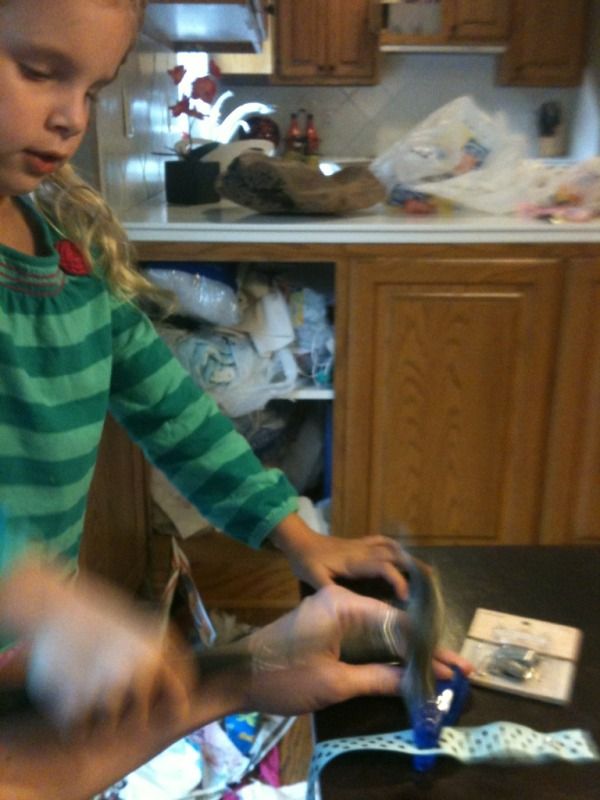
Aside from working on reading, math and doing science experiments, Some of the things J has learned to do is make scrambled eggs and french toast, vaccuum and sweep and today she wanted to learn how to sew.  She has started asking lately if I thought Santa could bring her a kid sewing machine, but wasn't sure if there was such a thing. So today she gor her wish and first started out by helping me make some binkie clips as you can see here she is hammering the snaps in place
Uploaded from the Photobucket iPhone App
Ever have that dream you are at school and realize you forgot to wear pants? well, no biggie

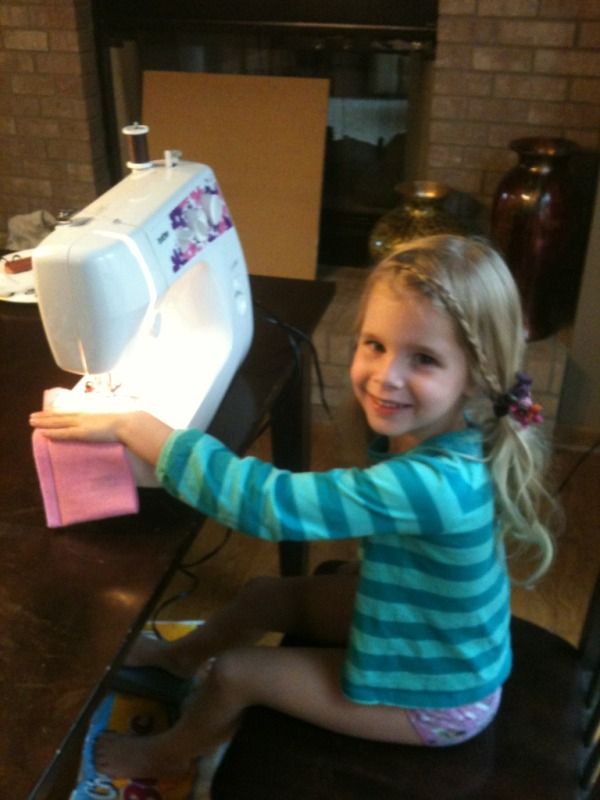
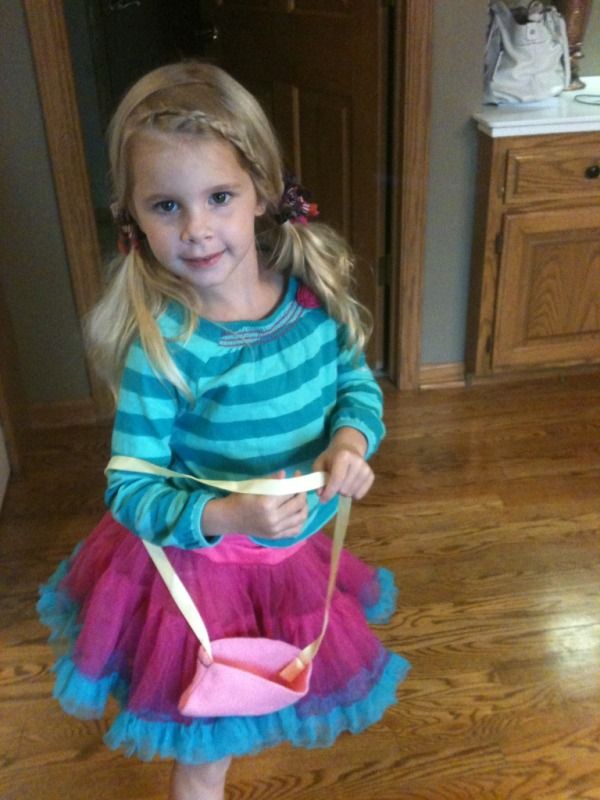
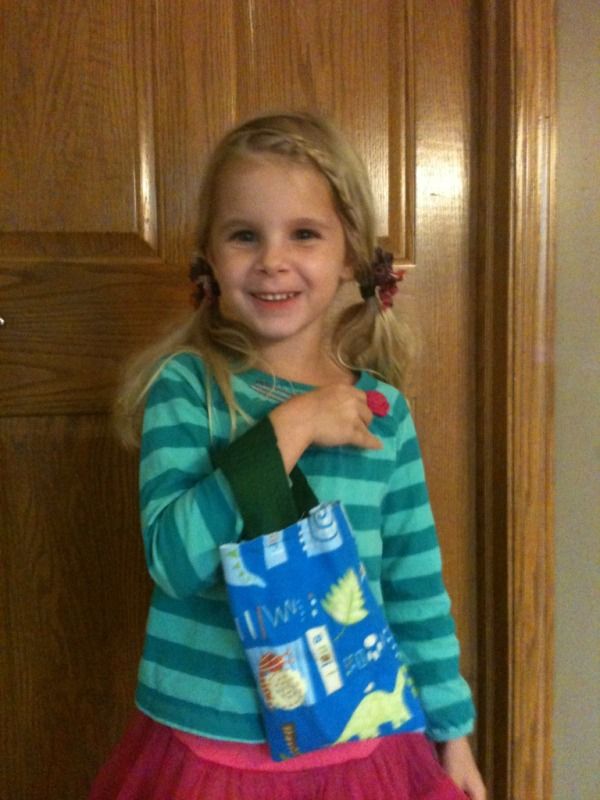
Then she used some scraps and she made herself a little purse and then a bag for her brother.  She did awesome, I was sitting right next to her to instruct and would reach over and help her stay on the fabric if it started to get crooked but really, I didn't have to touch too much.  She was so excited and eager to learn, she really paid attention to what I told her and implemented it.  You can see in her face how excited she is
Uploaded from the Photobucket iPhone App
Ever have that dream you are at school with no pants on? No biggie

And here she is modelling her AWESOME purse
Uploaded from the Photobucket iPhone App
and the bag for her brother
Uploaded from the Photobucket iPhone App
Then she told me she wanted to sew a book.  I tried to think of something else but she insisted...like a soft kid book so I remembered I had some cream polar fleece scraps so I cut some rectangles and stacked them up and had her sew a seam down the middle.  Then she sewed a zigzag stitch border around each page (6 of them) and that is where we left off...

We spend plenty of time outside and learn about nature
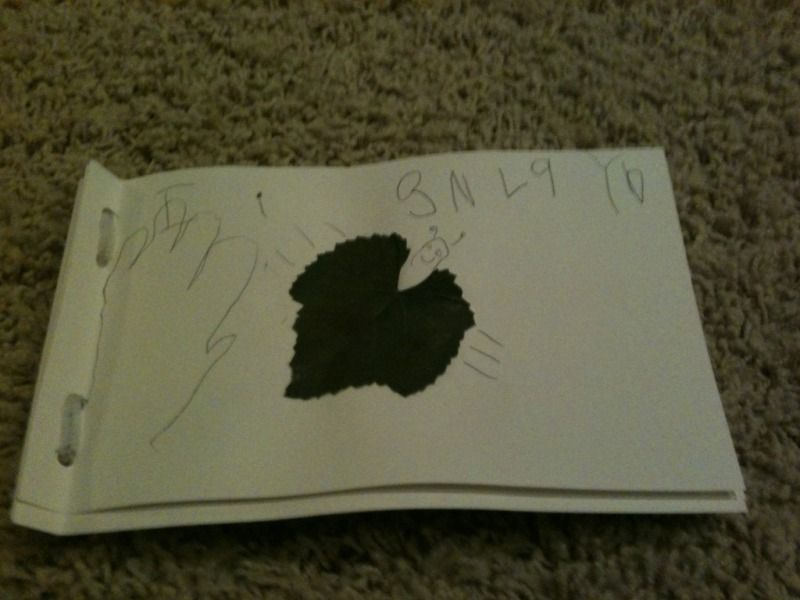
Here is a nature journal she made from collecting leaves in the backyard.  She glued them into the book then drew around them turning each leaf into an animal or insect.
Uploaded from the Photobucket iPhone App
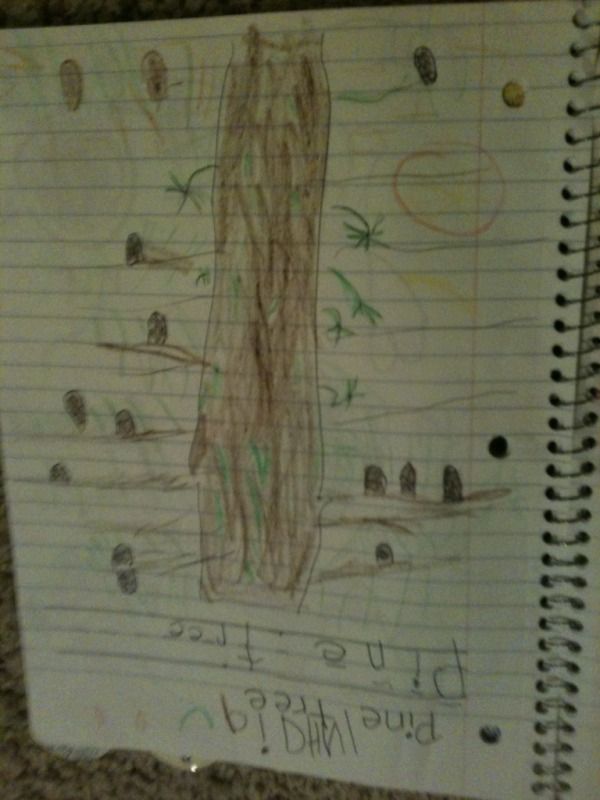
Here is a page from her notebook from when we were in Georgia surrounded by pine trees.  We went for a walk and she collected pine cones and pine needles and studied what the pine trees looked like and later drew this picture
Uploaded from the Photobucket iPhone App

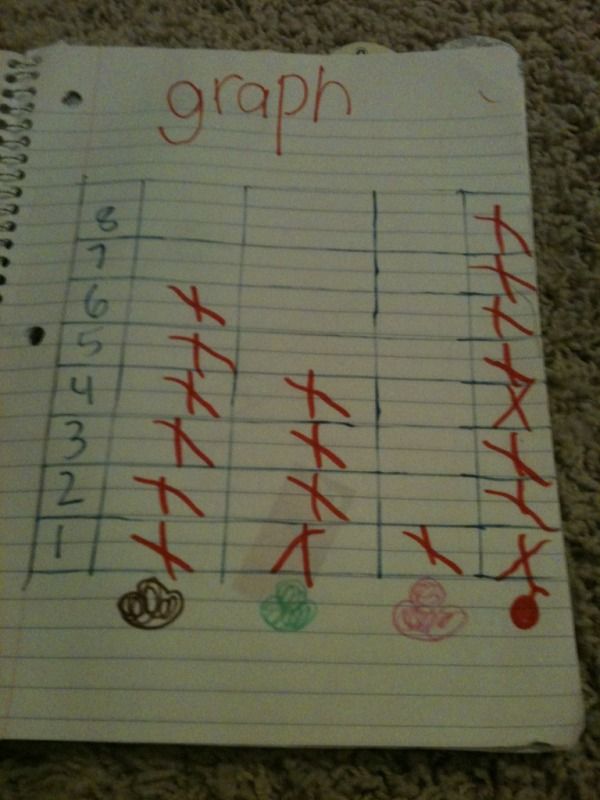
Learning about making and reading graphs we used the ice cream spinner from the fancy nancy ice cream game
Uploaded from the Photobucket iPhone App

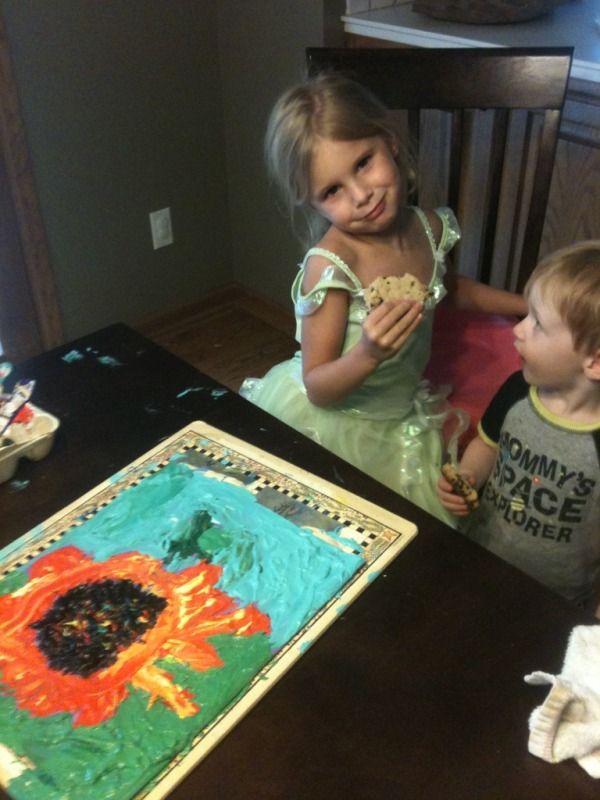
And for my favorite subject...ART I have been introducing her to artists and then doing an art project inspire by that artist.  The first one was Van Gogh...and she will never forget...she made a little chant about him...Van Gogh the Weirdo cut his own ear he painted impasto....and fyi she says she will NEVER marry Van Gogh...she didn't even like talking about him or looking at his art until the next day I pulled out some examples of his sunflower still lifes and then in an old egg carton mixed tempura paint with flour and had her paint a sunflour with a popscicle stick to recreate the style of Van Gogh.  It was amazing she went from hating him to appreciating him.
Uploaded from the Photobucket iPhone App

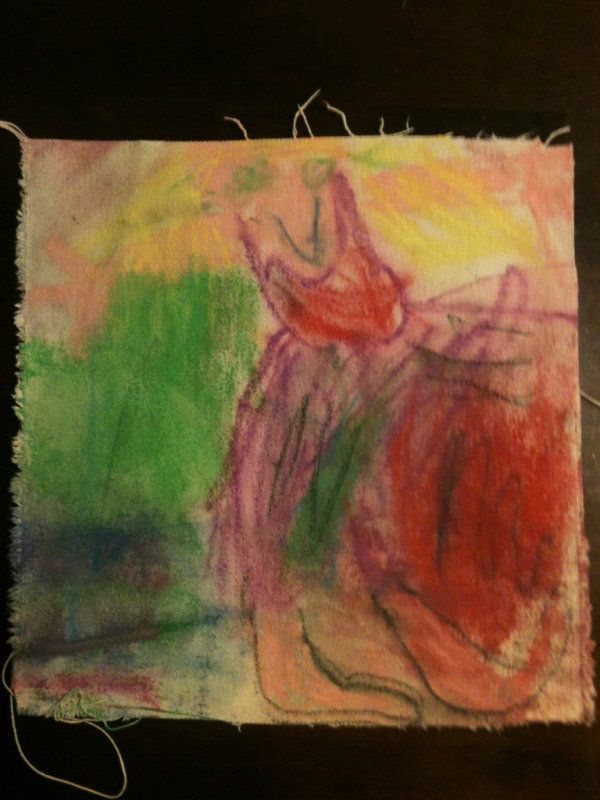
I decided to stick with impressionists for now so the next artist I introduced her to was Edgar Degas.  To help her remember we just say 'Degas painted Dancers".  She liked his art too but wasn't as excited about her Degas style painting technique as the Van Gogh...I think it was probably just bad timing, she wasn't really in a good mood and I probably should have saved it for another time so she would have appreciated it more but her dancer still turned out great.  We soaked canvas in milk and then she made the picture with chalk pastel, then we flipped it over and ironed the back to set the pastels in.
09E485CC-3B2A-4365-BA1E-C5B301773859-1978-00000329251A6E24_zps036b8e8d, Uploaded from the Photobucket iPhone App
I have a rule that I picked up when I worked at at Monart school...never touch a child's artwork.  I will sit at the table with her and talk to her about what she is doing and have a scrap piece of paper so I can demonstrate how to draw something or any new technique, but I never put my hands on her art and she has become very proud of that and protective of that.  Kids want to look at their finished product at the end and know they did it themselves.  AND sometimes when they don't do it "right" it ends up being better and I would hate to miss out on seeing how hers turns out.


The ideas for these two painting projects came from this AWESOME I picked up when I was still in college

Discovering Great Artists: Hands-On Art for Children in the Styles of the Great Masters 


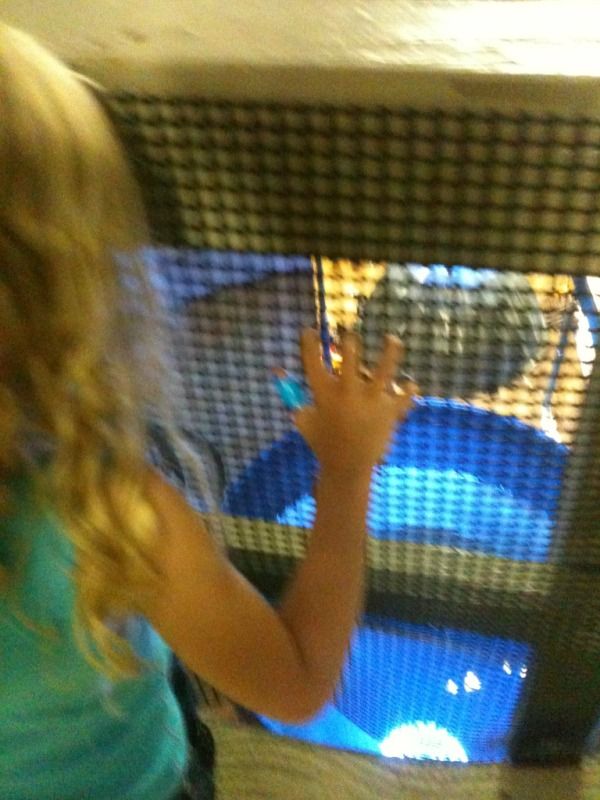
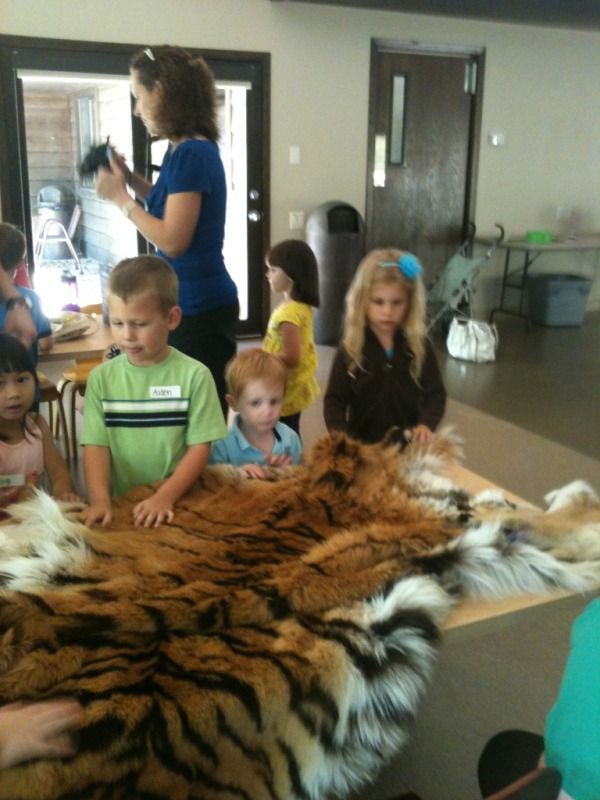
We also take advantage of our zoo membership.  Last week we went to a homeschool workshop that was all about habitats and they also took us behind the scenes of the shark tank which was a little scary since with all those little people and nothing really to stop your from falling in...let me just say that it was cool but I also was annoying the crap out of Jordan making her hold my hand and constantly pulling her back...but there were all these little boys who were active and curious and oblivious and NOT anywhere near their moms and I could just see her getting bumped into the tank!  Apparently that is not normally part of the workshop but it was a rare occasion they decided to take us up there...and like I said, it was definitely cool, but also a little nerve wracking. 
Uploaded from the Photobucket iPhone App
well at least we didn't have to worry about falling down into the jelly fish tanks^

Uploaded from the Photobucket iPhone App

Oh and of course she still has playdates with friends, goes to AWANA and MOPPETS and pretty much makes friends wherever she goes.  In Georgia, she learned how to braid pipe cleaners in the hotel room. She made so many of them then took the to the park and gave them all away to either elderly people or other little girls and ended up making a bunch of friends that we'll be able to call after we move.